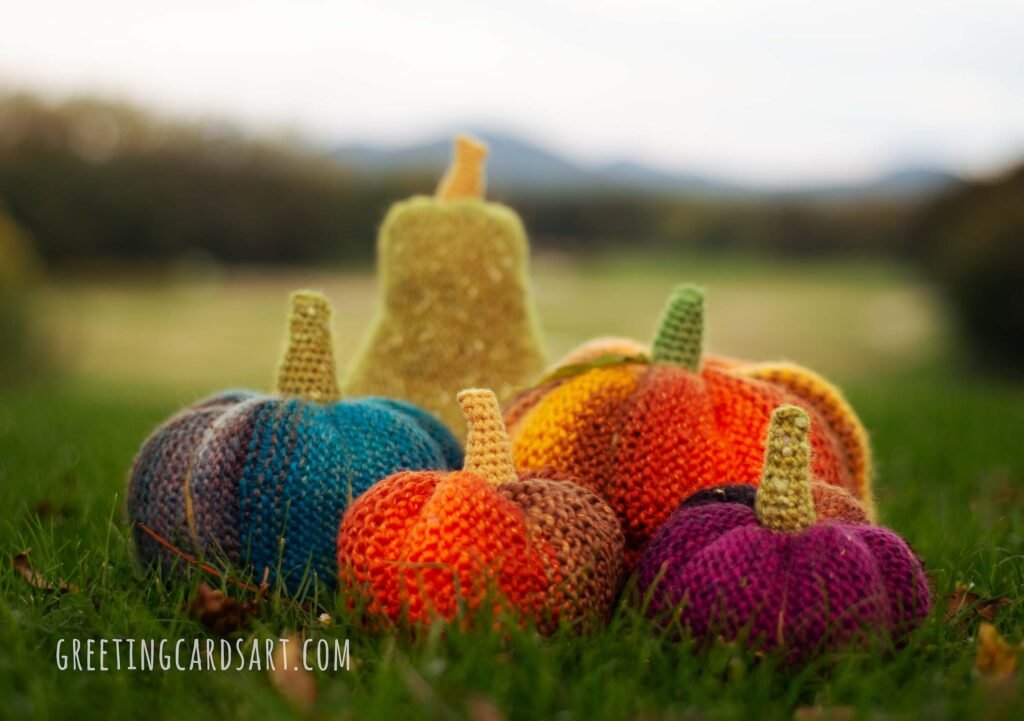
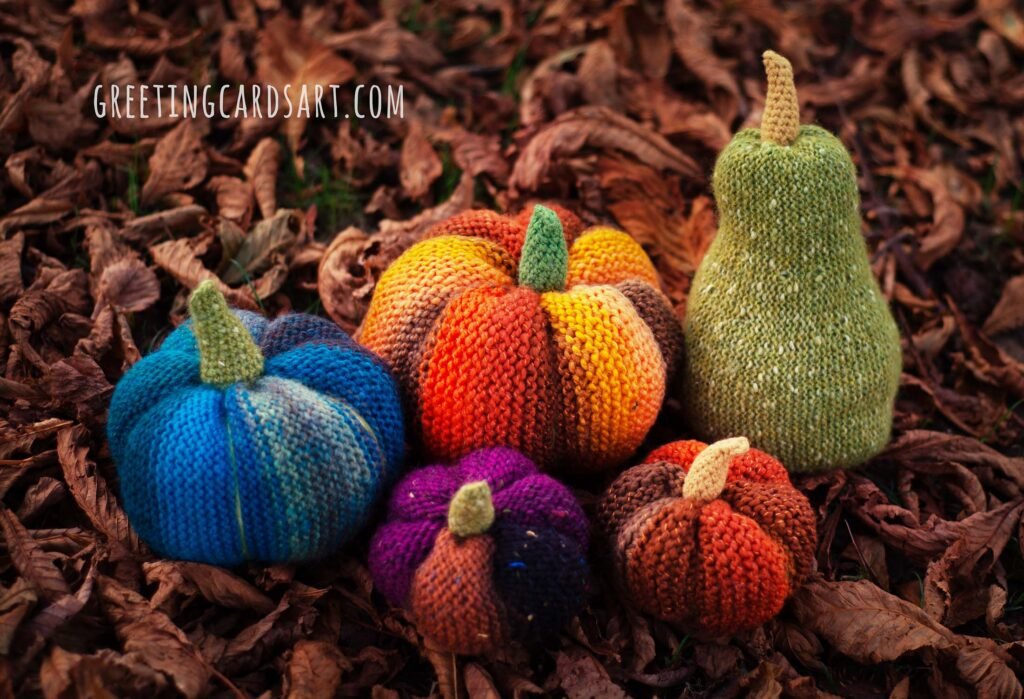
Autumn is here, and it’s time to refresh your seasonal decor! This year, why not try something a little different and craft knitted pumpkins? These charming, cozy pumpkins are the perfect blend of rustic and modern, adding a warm, handcrafted touch to your home. Whether you’re a seasoned knitter or just picking up the needles, knitted pumpkins are an excellent DIY project. Here are 10 reasons why you should make them this autumn:
1. Unique and Cozy
Forget the typical carved pumpkins – knitted pumpkins are a stylish and soft alternative! They bring a cozy, handmade feel to your autumn decor, making your home even more inviting during the colder months.
2. Perfect for Boho and Rustic Decor
If your home leans toward a rustic, farmhouse, or boho aesthetic, knitted pumpkins are the perfect decor piece. Their soft texture and natural colors fit seamlessly with wooden accents, woven baskets, and other earthy tones, creating a warm, seasonal atmosphere.
3. Eco-Friendly and Reusable
Knitted pumpkins can be made with sustainable, eco-friendly materials like cotton or wool yarn. Plus, unlike carved pumpkins that only last a few days, these knitted beauties can be reused year after year, making them a greener choice for your autumn decor.
4. Completely Customizable
Knitted pumpkins are easy to personalize. From the yarn color to the knitting pattern, you can customize them to fit your home’s aesthetic perfectly. Add buttons, ribbons, or even different textures to make each one truly unique!
5. Budget-Friendly
Crafting your own knitted pumpkins is an affordable way to decorate for fall. With just a ball of yarn and some stuffing, you can create multiple pumpkins in various sizes and colors. You can also reuse old yarn or sweaters, making this a fun and budget-conscious project.
6. Fun and Easy to Make
Whether you’re a knitting pro or a beginner, knitted pumpkins are a fun and relatively easy project. There are plenty of free patterns online for various skill levels, so you can find one that’s perfect for you. They make for a relaxing evening project or weekend craft.
7. Adds Texture and Depth
Knitted pumpkins bring a unique texture to your autumn decor. The soft, woven fabric adds a cozy feel, while the varying sizes and shapes of the pumpkins create visual interest. They’re great for layering with other fall decor like candles, leaves, and wooden accents.
8. No Mess, No Carving
With knitted pumpkins, there’s no need for sharp knives or messy pumpkin guts! You get all the charm of autumn decor without the clean-up, making them a hassle-free option for families who want to avoid the traditional pumpkin mess.
9. Safe for Kids
Knitted pumpkins are soft, durable, and safe for little hands, making them perfect for homes with young children. Unlike carved pumpkins, there are no sharp edges or risk of accidents. Kids can even help stuff or decorate them, turning this into a fun family activity.
10. Easy to Store
Once the autumn season is over, knitted pumpkins are incredibly easy to store. Since they’re soft and lightweight, you can simply pack them away with your other seasonal items. They’ll be ready to go next year without losing their shape or charm.
Knitted pumpkins are the ultimate DIY project for adding warmth, texture, and a touch of creativity to your autumn decor. They’re customizable, kid-friendly, budget-conscious, and easy to store for next year. Whether you’re making them for yourself or as gifts, knitted pumpkins are sure to bring a cozy, handcrafted touch to your home this fall. Why not grab your needles and yarn and get started today?
DIY Knitted Pumpkin Tutorial (Using Knitting Needles)
If you want to add some charming, cozy knitted pumpkins to your autumn decor, this simple tutorial is perfect for you. It’s easy to follow, and even if you’re new to knitting, you’ll be able to craft these adorable pumpkins with just a few basic supplies.
What You’ll Need:
- Knitting needles (any size – the larger the needles, the bigger your pumpkin!)
- Yarn (choose your favorite color and texture, medium weight or bulky yarn works best)
- Tapestry needle (long needle) for sewing the seams and shaping the pumpkin
- Crochet hook (for making the pumpkin stem)
- Polyester stuffing (such as holofiber) for filling your pumpkin
- Scissors
- Thread (optional) for shaping the pumpkin
Step-by-Step Instructions:
1. Knit the Pumpkin Body
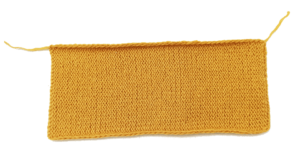
You will start by knitting a simple rectangle to create the body of the pumpkin.
- Cast on stitches: The number of stitches depends on how big or small you want your pumpkin to be. To get the right ratio, cast on enough stitches so that when your rectangle is complete, its width will be approximately half of its length (for example, if you want a rectangle that’s 20 cm long, the width should be about 10 cm).
- Knit in stockinette stitch: Work in stockinette stitch (knit one row, purl the next) until your rectangle is twice as long as it is wide. The sides should be in a 2:1 ratio. For example, if your rectangle is 20 cm long, it should be 10 cm wide.
- Bind off all stitches and cut the yarn, leaving a long tail for sewing.
2. Create the Pumpkin Shape
Now that you have your knitted rectangle, it’s time to form the pumpkin shape.
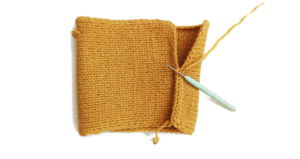
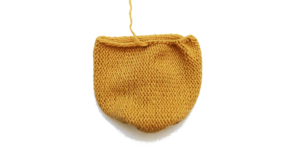
- Sew the short sides together: Fold the rectangle in half widthwise so that the short sides meet. Use your tapestry needle and yarn tail to sew the short sides together. This will form a cylinder.
3. Gather the Top and Bottom
Next, you’ll shape the cylinder into a pumpkin by closing both the top and bottom.
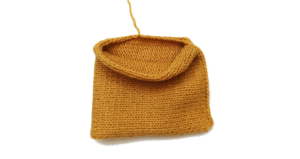
- Gather the bottom: Using the long yarn tail from your sewing, weave the needle through the stitches along the bottom edge of the cylinder, pulling it tight like a drawstring. Once it’s fully pulled closed, tie it off securely.
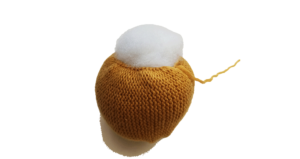
- Stuff the pumpkin: Before closing the top, stuff the cylinder with holofiber (or your preferred stuffing material). Add enough stuffing to give the pumpkin a plump, rounded shape.
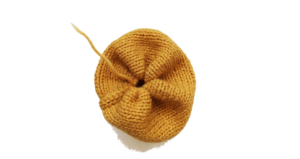
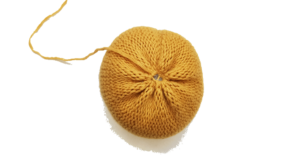
- Gather the top: Weave your needle through the top edge of the cylinder, just like you did with the bottom. Pull it tight to close the top, but leave a small hole for the stem. Tie it off securely.
4. Shape the Pumpkin
To give the pumpkin its characteristic shape with ridges, use a long needle and strong thread or yarn.
- Thread through the pumpkin: Insert the needle through the top of the pumpkin (where the stem will go) and out the bottom. Pull tight, and then bring the thread around the outside of the pumpkin to create one of the grooves or ridges.
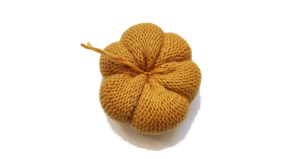
- Repeat: Continue threading the needle from top to bottom, tightening as you go, to create multiple ridges. You can do 4-6 ridges depending on your preference.
- Secure the shape: Once you’ve shaped the pumpkin with ridges, tie off the thread tightly at the bottom, ensuring it holds its form.
5. Make the Pumpkin Stem (Crochet)
Now for the finishing touch – the stem! You’ll crochet a small stem to attach to the top of your pumpkin.
- Crochet a chain: Using your crochet hook, chain 10-15 stitches (depending on how long you want the stem to be).
- Join into a ring: Slip stitch into the first chain to form a ring.
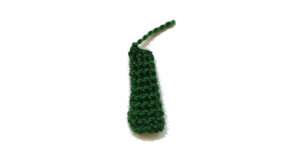
- Work in double crochet: Now, work double crochet stitches into the ring for 3-4 cm in height. To create a tapered look, gradually reduce the number of stitches as you reach the top, so that the stem becomes narrower.
- Finish the stem: Once your stem is the desired height, fasten off the yarn, leaving a tail for sewing.
6. Attach the Stem
With your stem complete, it’s time to attach it to your pumpkin.
- Sew the stem: Position the stem over the small hole at the top of your pumpkin. Use the yarn tail and your tapestry needle to sew the base of the stem to the pumpkin, making sure it’s secured tightly.
- Weave in the ends: Once your stem is attached, weave in any remaining yarn tails to give your pumpkin a neat, finished look.
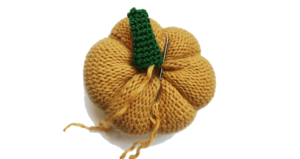
And you’re done!
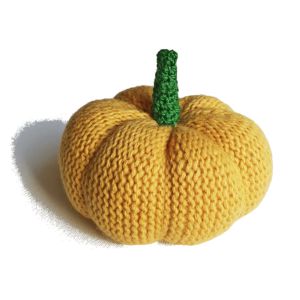
You now have a beautifully crafted knitted pumpkin that’s perfect for your autumn decor. Repeat the process with different yarn colors, sizes, and textures to create a whole collection of cozy, hand-knit pumpkins to decorate your home. Whether you place them on a mantel, arrange them in a basket, or give them as gifts, these pumpkins will add a warm, handmade touch to your autumn season.
Happy knitting! 🍂🎃
And if you love to knit as well as sew, check out my collection of Halloween fabrics in my shop on Spoonflower – there are lots of unique pumpkin fabrics!
