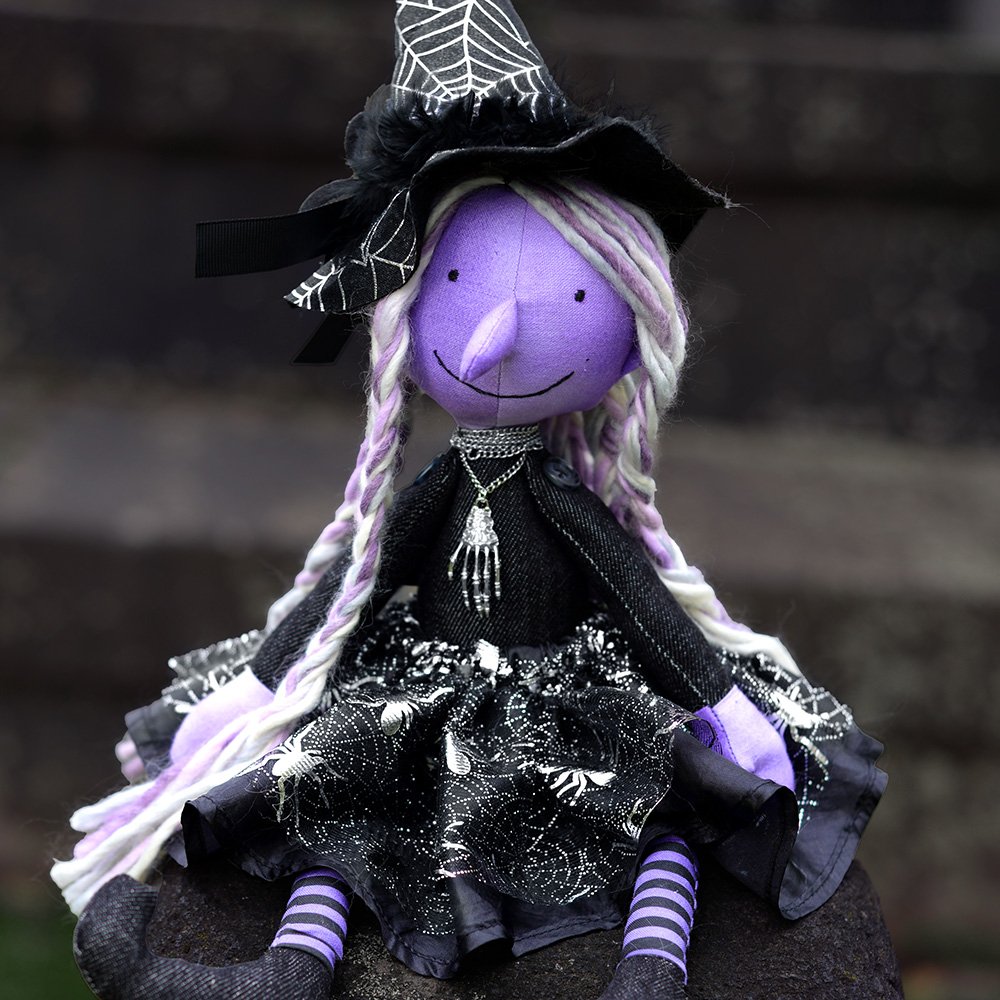
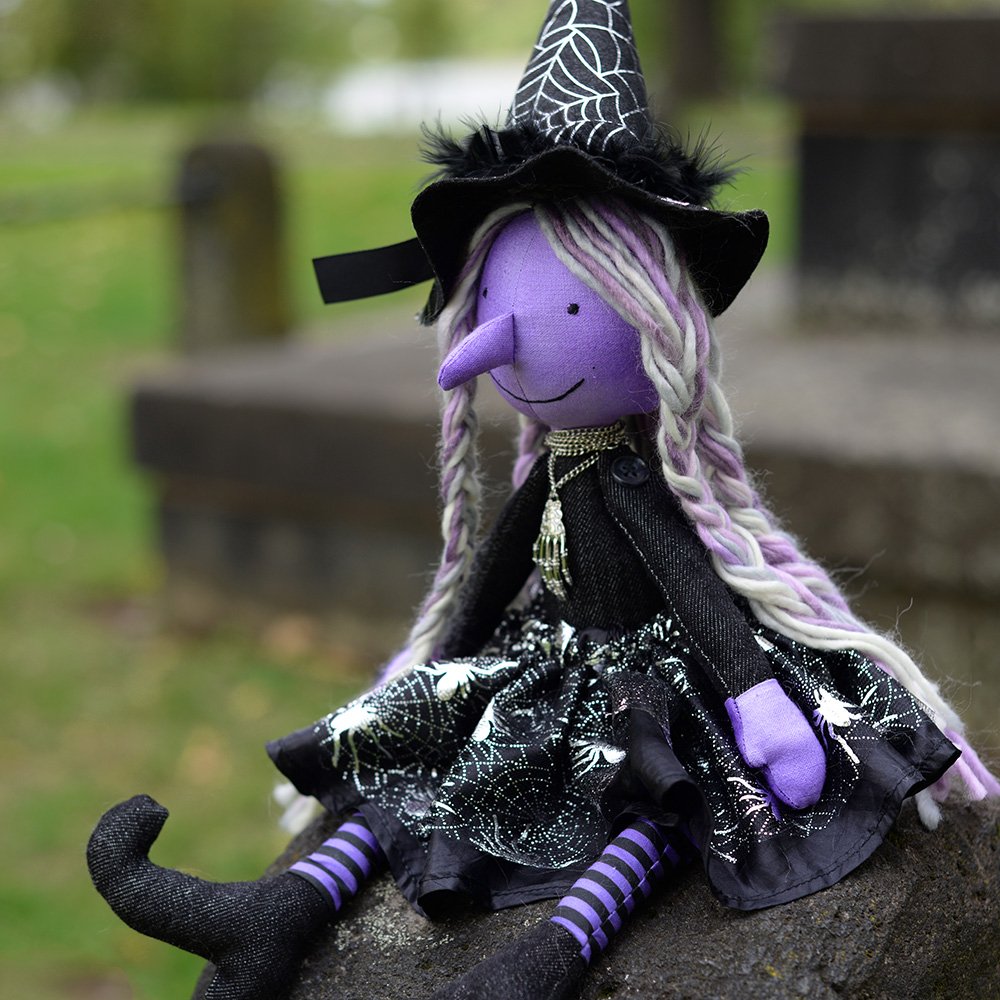
If you’re looking for a fun and spooky Halloween sewing project, this witch doll is the perfect choice! Follow this step-by-step guide to create your own charming witch. The pattern download link is provided at the end of the post.
Materials Needed:
- Fabric of your choice (cotton for the doll, felt for the hat works great, any thin fabric for the skirt)
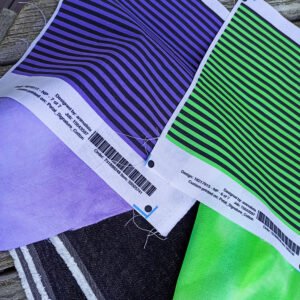
- Interlining (for thin or stretchy fabrics)
- Holofiber stuffing
- Sewing machine and thread
- Needle for hand sewing
- Scissors
- Black embroidery thread (for eyes and mouth)
- Knitting yarn (for hair)
Pattern Components:
- Body: 3 pieces (2 body, 1 bottom)
- Arms: 4 pieces
- Hands: 4 pieces
- Legs: 4 pieces
- Feet: 4 pieces
- Head: 4 pieces
- Nose: 2 pieces
- Hat base: 1 piece (folded)
- Hat brim: 1 piece
Sewing Procedure:
1. Print and Cut the Pattern
Print the pattern at 100% scale for a 42 cm tall witch. If you prefer a smaller doll, reduce the print scale accordingly (but I don’t recommend, it will be harder to sew).
2. Prepare the Fabric
Place the pattern on the fabric’s reverse side and cut out all parts. Make sure mirrored pairs are cut for even-numbered pieces. If the fabric is thin or stretchy, glue it with interlining for better structure.
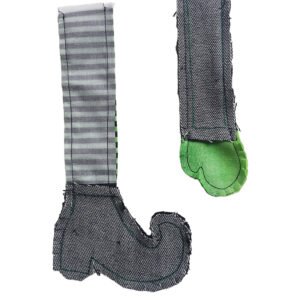
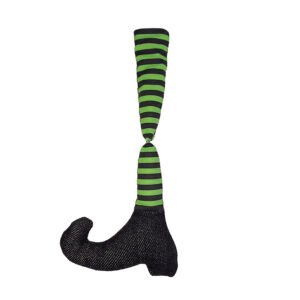
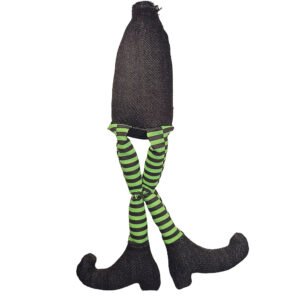
3. Sew the Arms and Legs
Sew the hand pieces to the arm pieces and the foot pieces to the leg pieces.
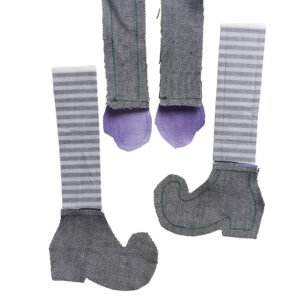
Join each arm and leg, leaving the legs unsewn at the top and the arms unsewn at the side 2-3 cm, then trim the seam allowances as shown in the reference photo.
Turn them right side out and fill with holofiber.
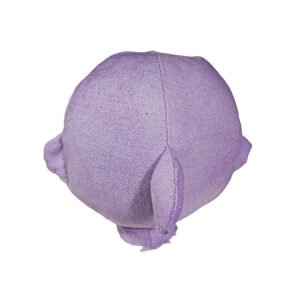
4. Assemble the Head
Sew the two nose parts together,
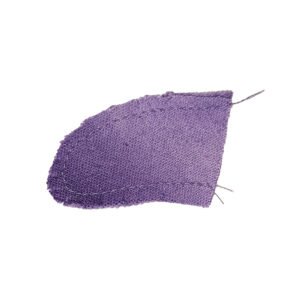
turn out, and lightly fill with holofiber. Insert the nose between the front face pieces and sew.

Then sew the back head parts together, and finally, sew the front and back of the head together. Trim seam allowances, turn right side out, and fill with holofiber.
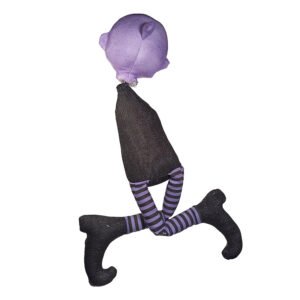
5. Sew the Body
Attach the legs to the front of the body.
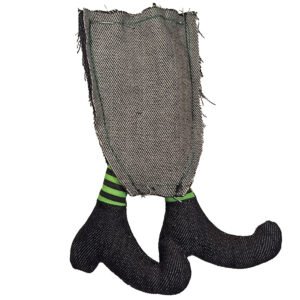
Sew the two body parts together, inserting the legs in between, and then sew on the bottom piece of the body. Leave the neck area for turning.
6. Stuff and Close the Body
Turn the body right side out, fill it with holofiber.
7. Attach the Arms
Sew the openings of the arms closed. Then, attach the arms to the body using button joints for mobility. Alternatively, if you prefer a simpler version, insert the arms while sewing the body together.
8. Attach the Head
Sew the head to the body by hand using a strong thread. Embroider the eyes and mouth using black or colored thread to give your witch her unique expression.
9. Add the Hair
Make the witch’s hair from knitting yarn. Cut several strands of yarn to your desired length and sew them to the top of the doll’s head.
10. Make the Hat
Sew the hat base (folded piece) and brim together, turn right side out, and place it on the doll’s head. Secure it with a few stitches if desired.
11. Make the Skirt
Cut a rectangle of black fabric measuring app. 15 x 100 cm and a piece of organza or spiderweb-patterned fabric measuring 12 x 100 cm. Sew each piece into a ring. Place one over the other and sew them together along the top edge. Fold the top edge inward and stitch again to create a casing for the waistband, leaving a small opening unsewn. Insert a rubber band or lace through the casing, adjust the fit, and close the opening.
Optional Touches:
12. Add accessories like a small broom, cape, or even a tiny felt cat for extra Halloween charm! Here is a place where your imagination can run wild)
I recommend adding knitted pumpkins made of yarn in a matching color for an aesthetic fall/Halloween look – you can find out how to make them in this blog post (clickable).